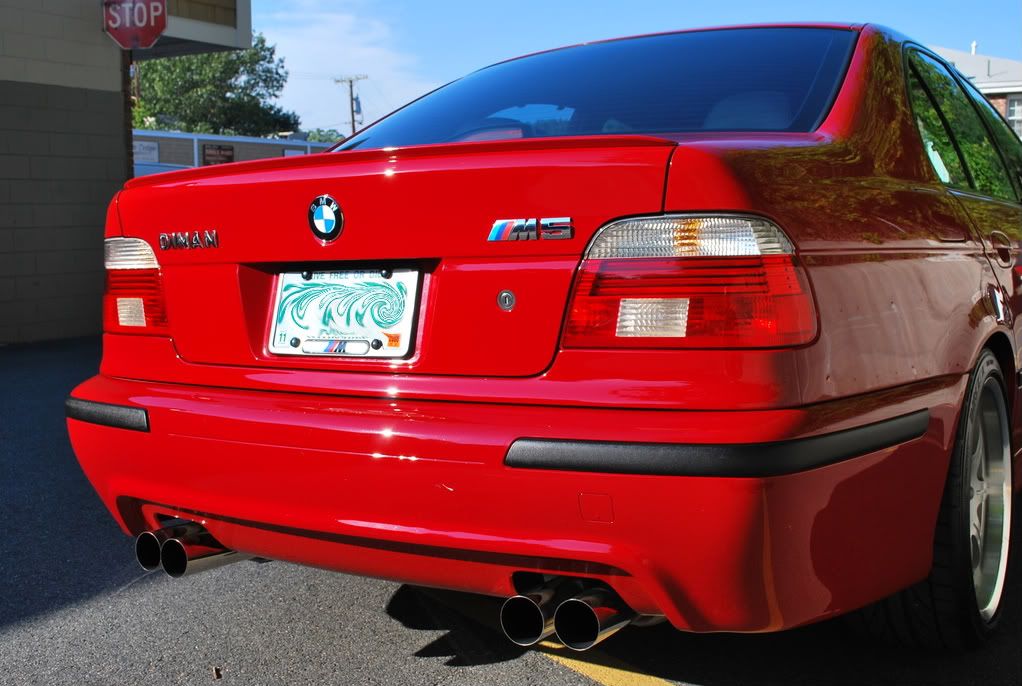
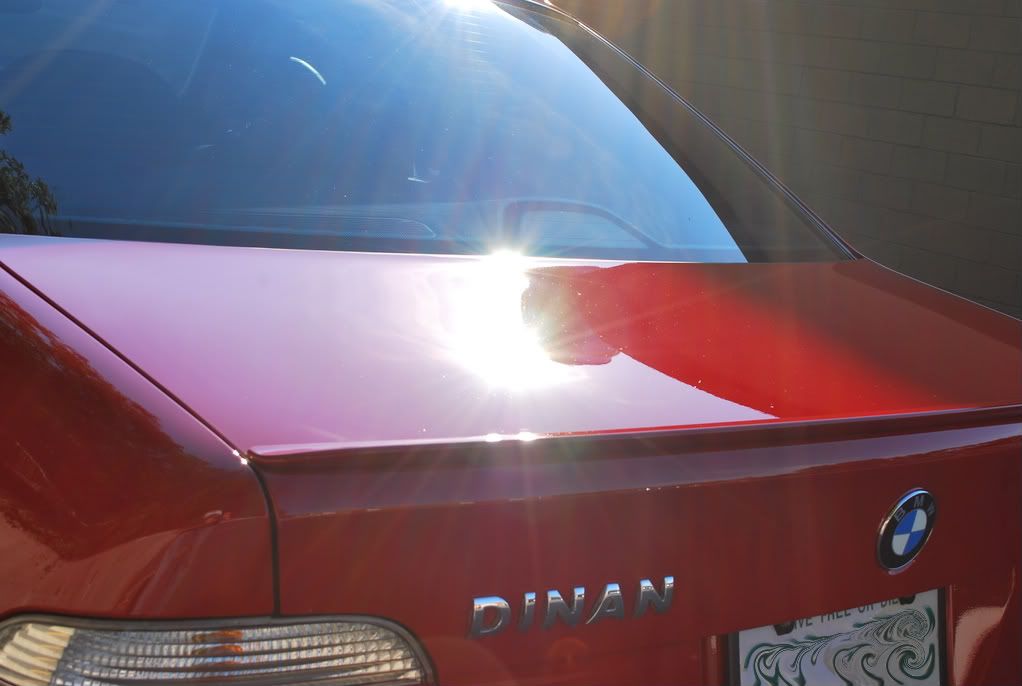
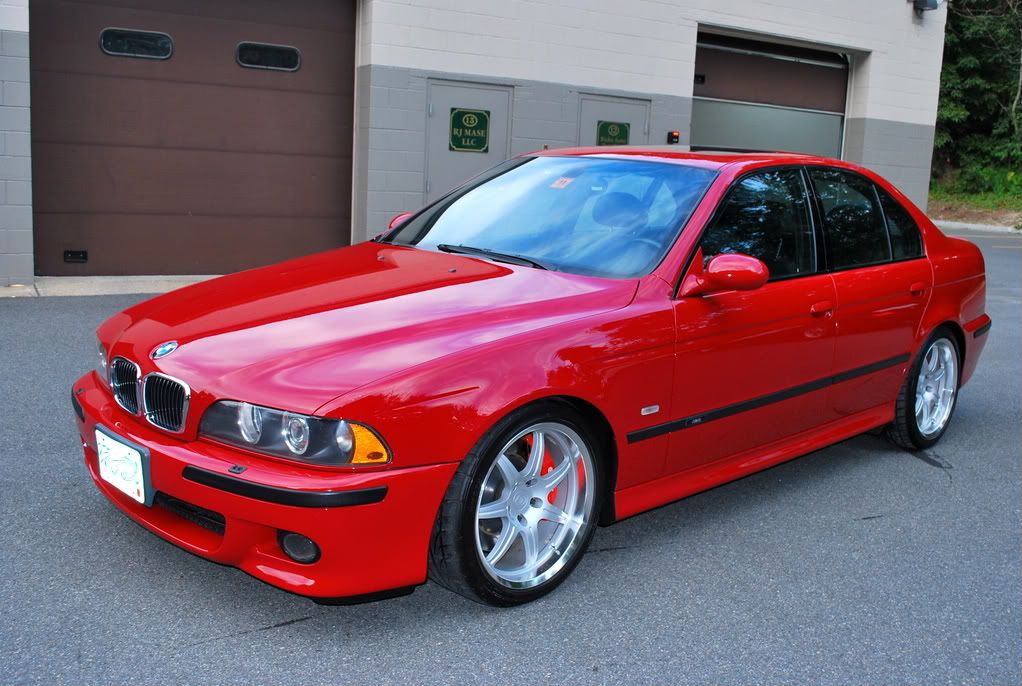
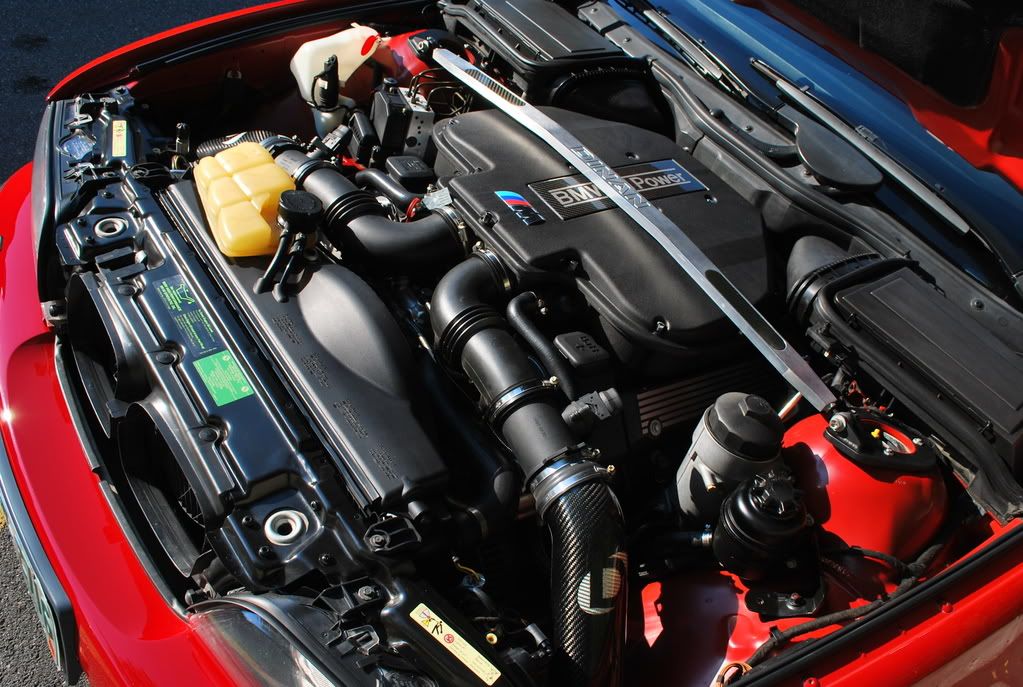
This Imola Red BMW M5 was brought in for a full exterior paint correction. The car was recently purchased from an auction, so the new owner wanted to get the car as perfect as possible. He saw the other M5 I posted up not too long ago and opted for the same treatment. The car was equipped with a Dinan package and had quite a few performance upgrades. If I remember correctly, the car had a little over 70K miles on the clock and looked to have never been properly detailed before. The car was left with me for almost 3 weeks while the owner was away on business, so it was nice to be able to take my time on it.
The condition was pretty average for the amount of miles on the car. The paint was a bit dull looking and had some major swirling present. All of the top surfaces had some heavy water etching and scratches that looked to be deep into the clear.
As you can see, the car was in dire need of a detail and needed to be brought back to life.
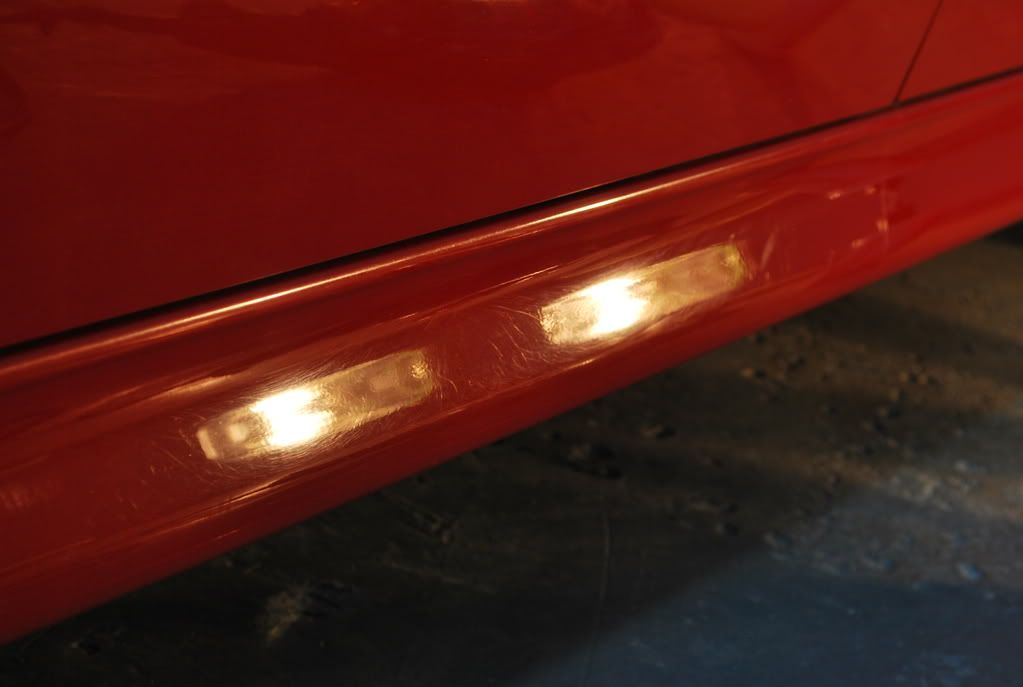
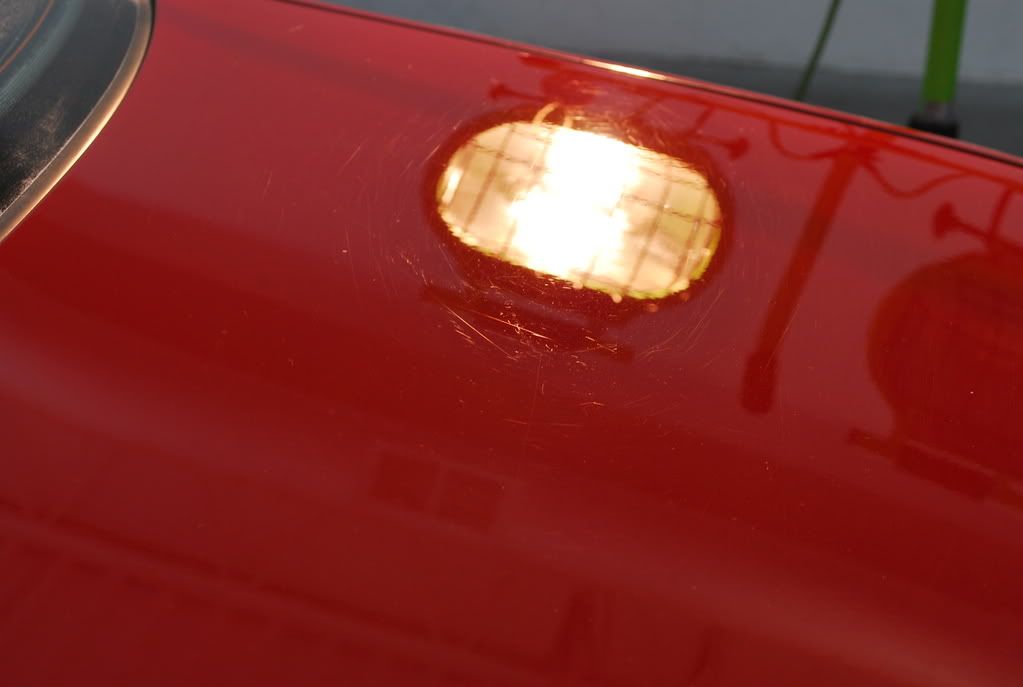
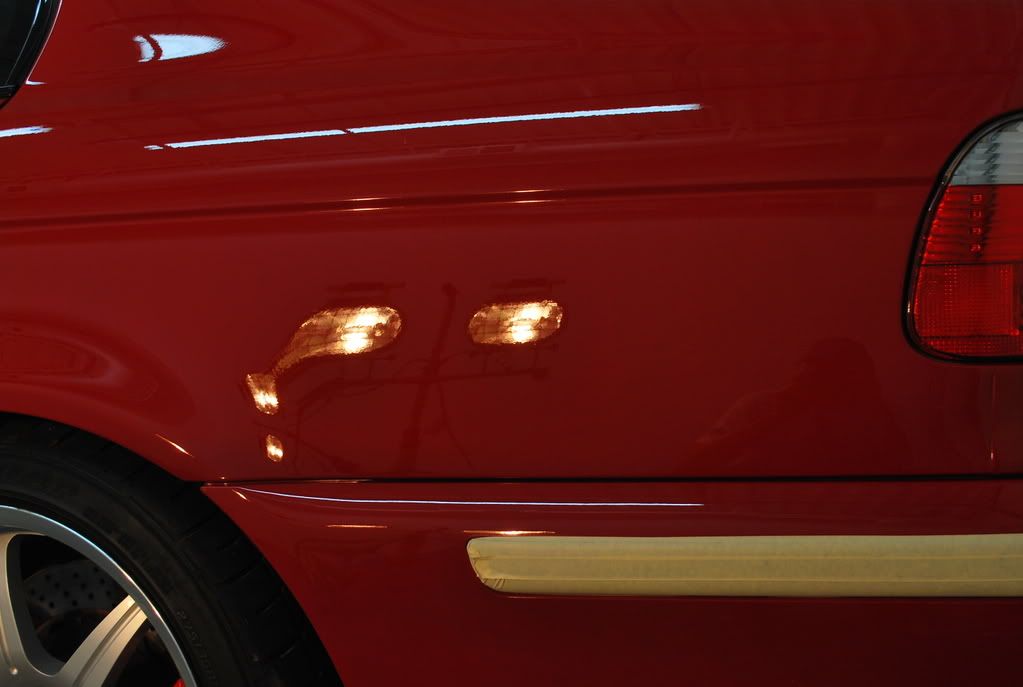
Below are a few halogen pics after the car was fully prepped for polishing… The defects were a bit worse in person and were hard to capture with my camera.
I started by polishing a test panel to see what products / pads yielded the best results. This paint was definitely the hardest stock paint I have ever encountered on a BMW, or any other car for that matter, so I knew it was going to be a looooong detail.
First I tried compounding with an aggressive foam pad, but it did absolutely nothing. I stepped up to a black Tuf-Buf lambs wool pad, which gave just the right amount of bite without being too aggressive. After trying various compounds, I found that MarkV MV350 gave the best cut on this particular paint.
The compounding stage was extremely slow and seemed like I would never be done. I spent an entire 5 days just compounding to try and remove as many of the defects as possible. Each panel required multiple sets of polishing to fully remove the deeply embedded scratches, which resulted in lots and lots of dust as seen in the pictures below!
I was able to remove about 95% of the deeply embedded scratches on the top surfaces, but did not feel comfortable going any further and risk removing an excessive amount of clear. I was able to get the rest of the car about 99.9% defect free, so I pulled the car outside for a thorough wash before moving on to the next polishing step.
I gave the car a thorough wash and pulled it back into the shop to prep it for more polishing. I masked off all body moldings again and did a quick wipedown with 91% alcohol to remove any possible remaining residue.
Below is what it looked like after just compounding and an alcohol wipedown. All masked up and ready for more polishing.
Even though there was still a good amount of polishing left, I was very relieved that all of the heavy compounding was done! After five days of just compounding, I was starting to get a bit tired. After seeing the car nice and clean after the wash, I got my second wind and moved on to the next polishing step.
Menzerna Super Intensive Polish worked absolutely amazing at removing all of the compounding haze and left the paint with an amazing glow. I used a white Sonus foam polishing pad and worked the product for a lengthy period of time to ensure it was properly broken down. Each panel required 2 applications to fully remove the compounding haze. First, I buffed each panel at higher speeds until the polish was completely broken down into a very fine powder. Then, I reapplied SIP and worked the product at a very slow speed for a long period of time with very minimal pressure until it was properly broken down. After completing this step, I wiped down the exterior with 91% alcohol and brought the car outside to thoroughly inspect the paint before performing any final polishing steps.
These are the results after SIP with no final polishing done whatsoever.
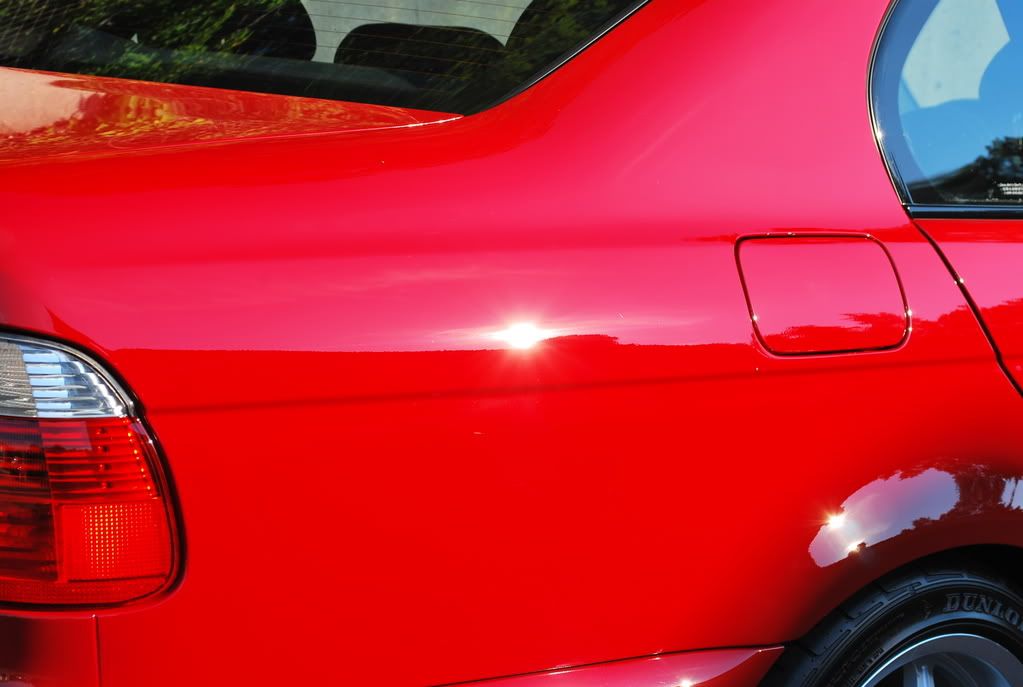
As you can see, SIP worked wonders and really brought the paint back to life after lots of heavy compounding. The paint was so incredibly bright that it almost looked fake. Even though the finish was looking good, I was far from being finished.
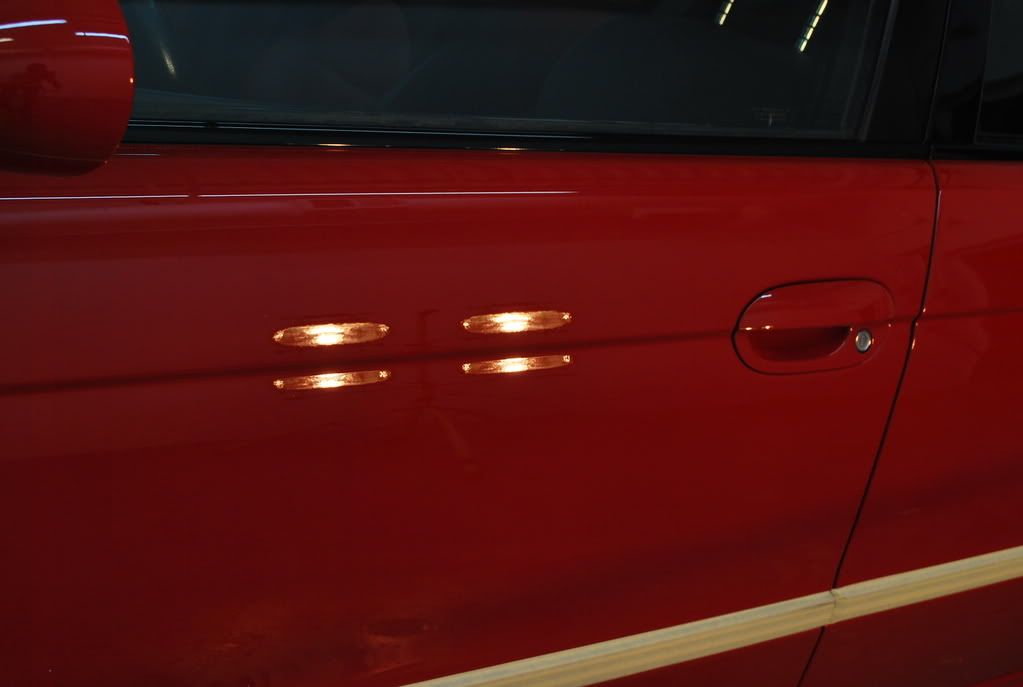
To remove the remaining holograms, I polished the entire exterior with Menzerna 106fa using a black Meguiars So1o foam pad. I worked the 106fa until all holograms were fully removed and the paint looked virtually perfect. Each panel was wiped with 91% alcohol and inspected under xenon and halogen lighting.
This is what it looked like under halogens after 106fa
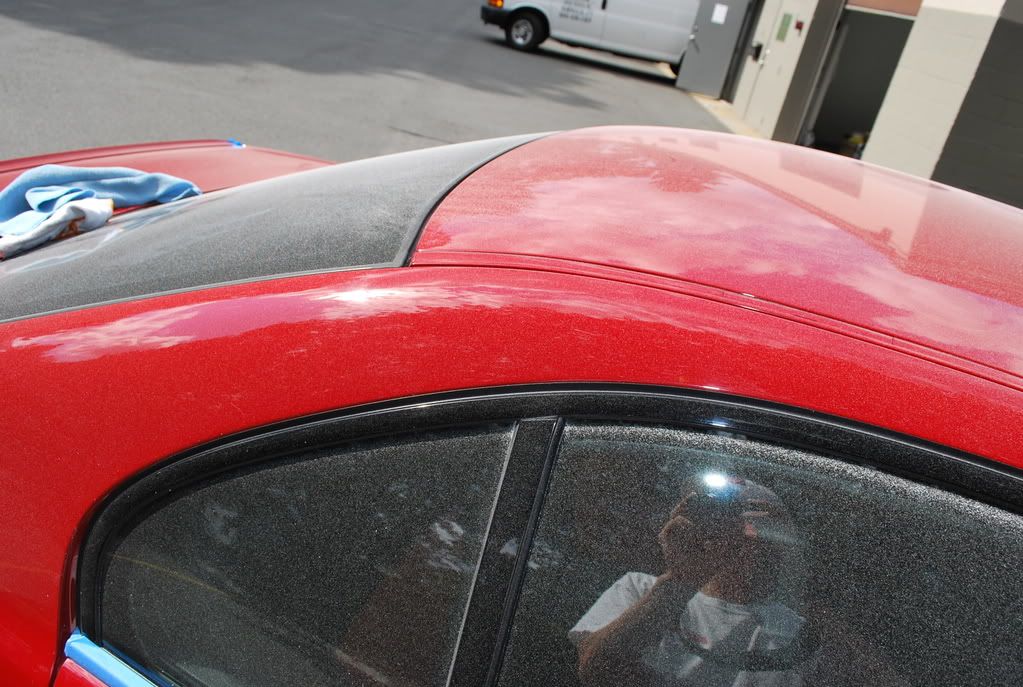
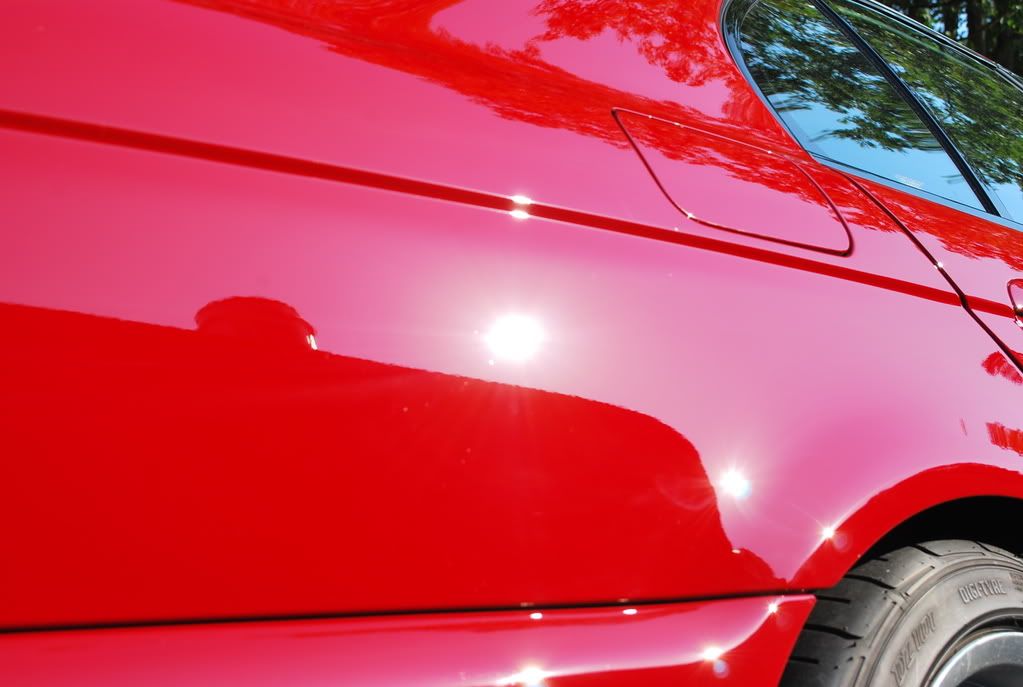
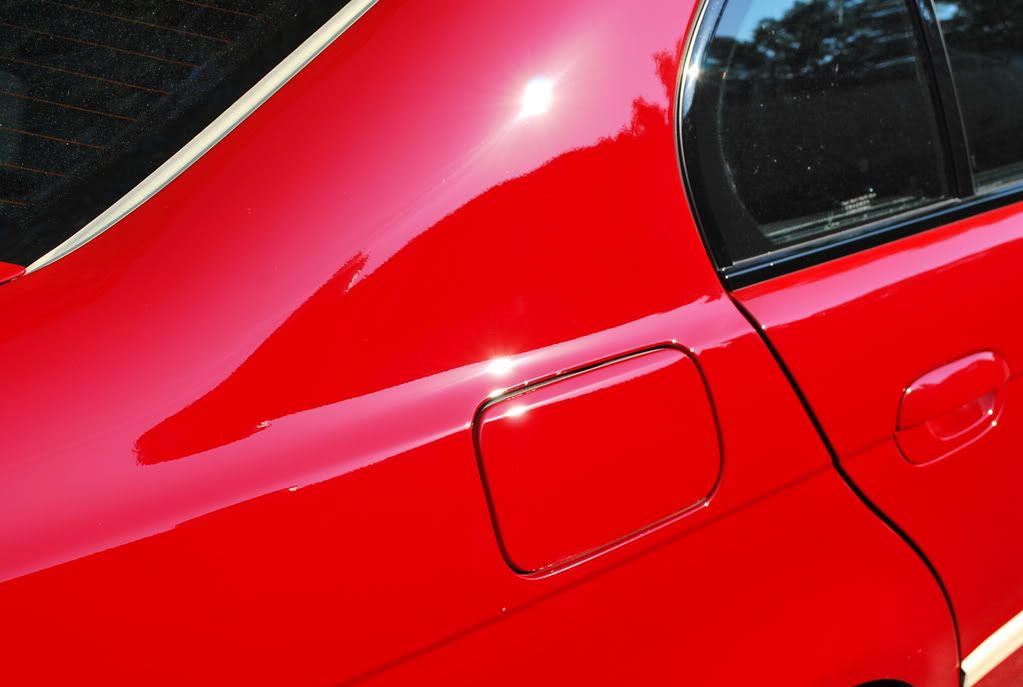
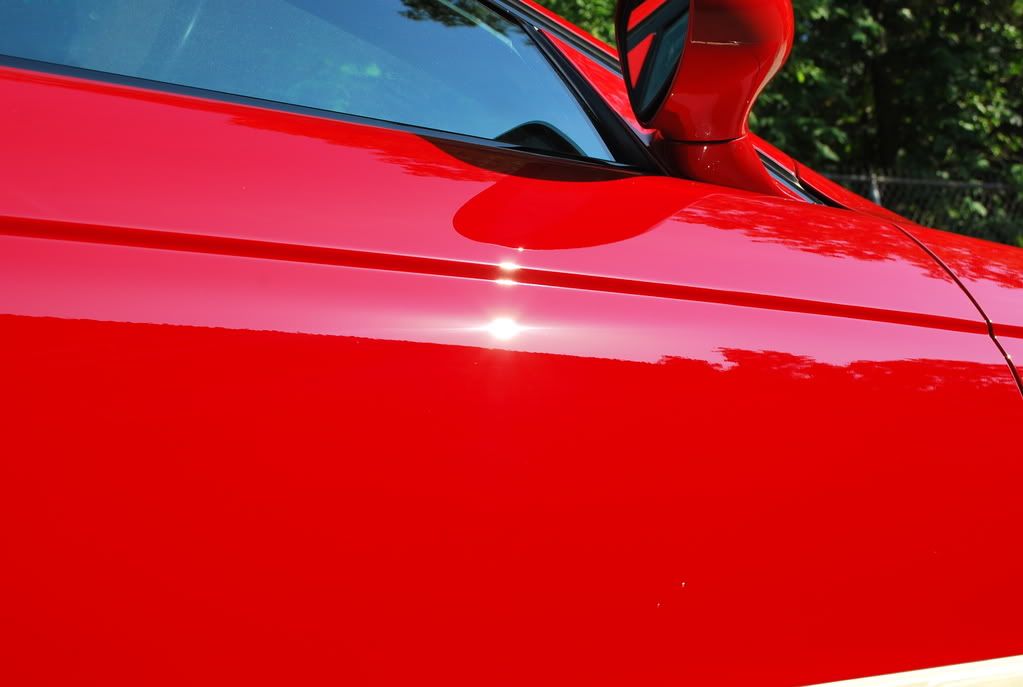
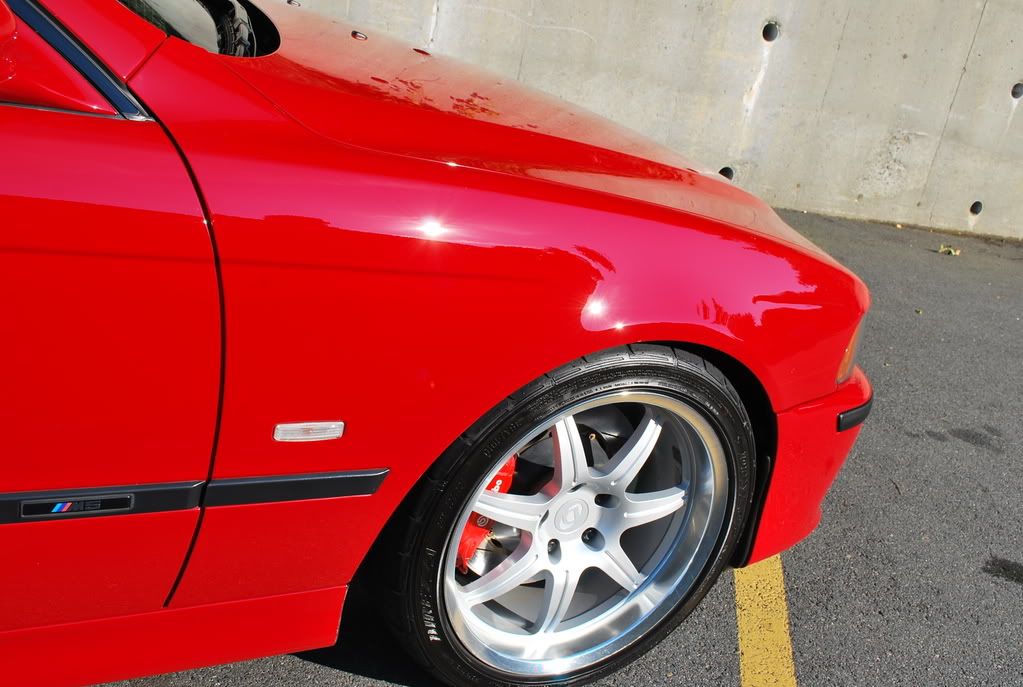
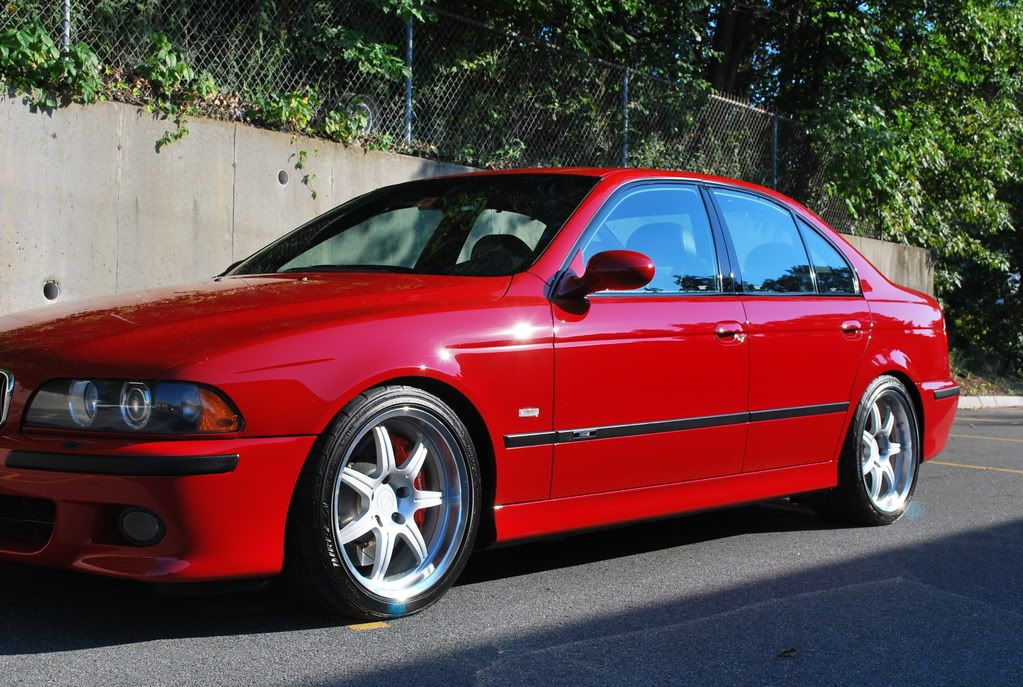
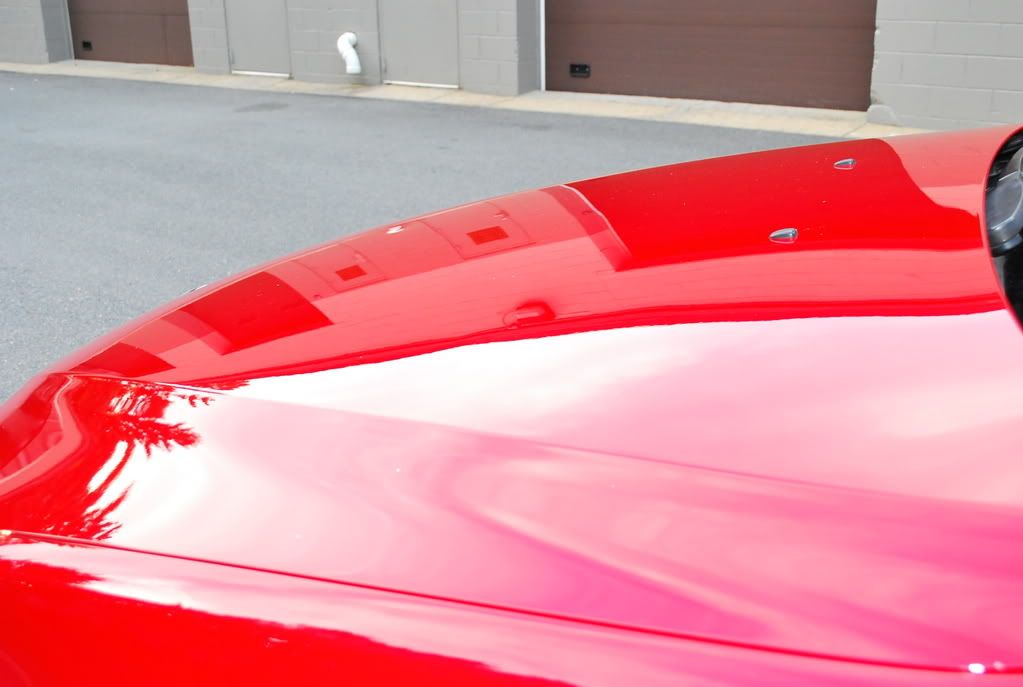
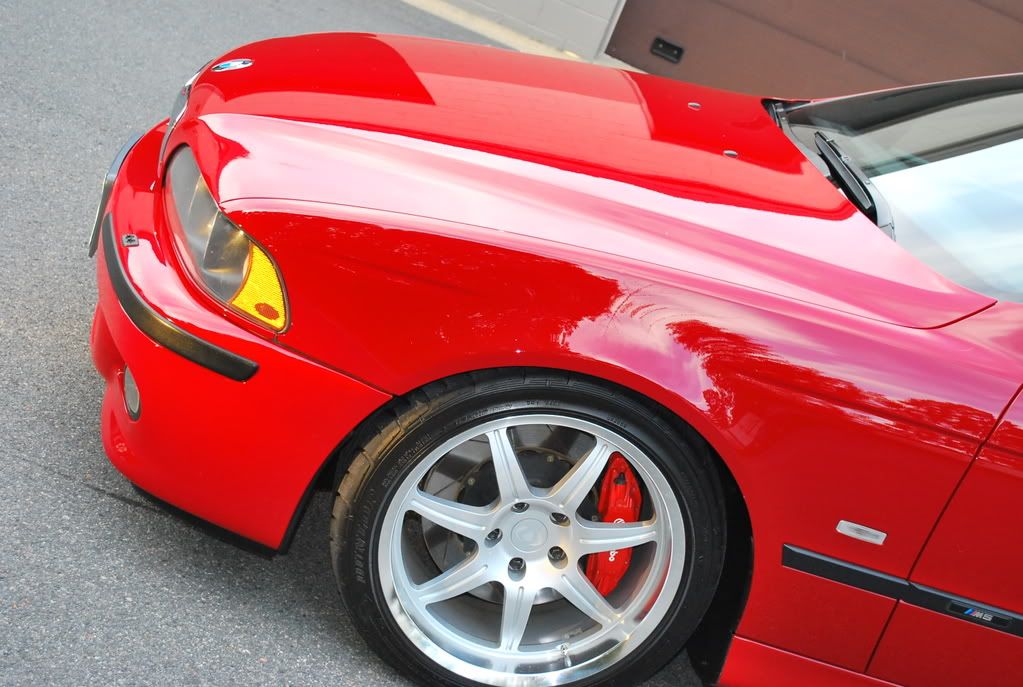
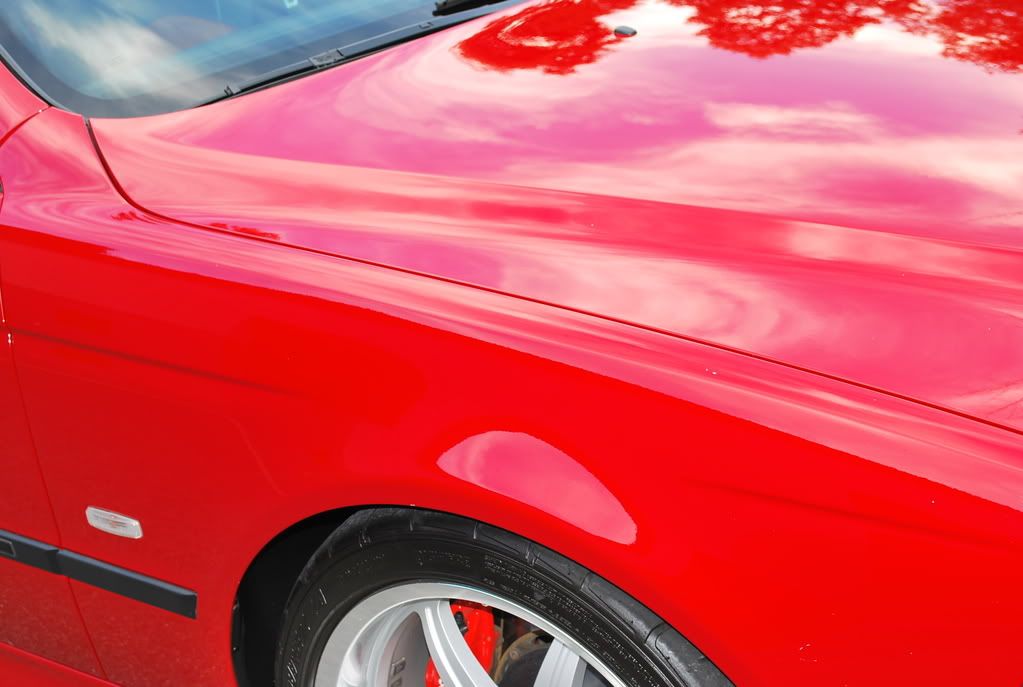
Before moving to the next polishing step, I pulled the car outside to inspect the paint in the sunlight. I was pretty amazed at the intense gloss I was able to achieve and was hesitant to do any additional polishing.
Because I have serious OCD issues, I decided to do an additional polishing / burnishing step to see if any additional gloss was possible. Although this step wasn't totally necessary, I decided to go ahead and do it anyway because of all the time I had already spent on the car. I proceeded to polish the entire exterior with Menzerna 85rd using a blue LC CCS pad until my arms felt like they were going to fall off! I’m not sure if it really made a difference or not, but I like to think it did. I wiped down the exterior with 91% alcohol, followed by a Z6 wipedown in preparation for the LSP.
For an LSP, I chose to use Bilt-Hamber Auto Balm, which I had just received in the mail. I applied the Auto Balm by hand, applying the product to only a couple panels at a time before removing with a fresh microfiber. A little product goes a long way, so barely any product was used. After the entire car had received a coat of Auto Balm, the car looked absolutely amazing and was left to cure overnight.
Now that all the polishing was complete and the LSP had been applied, it was time to pay attention to the various little details.
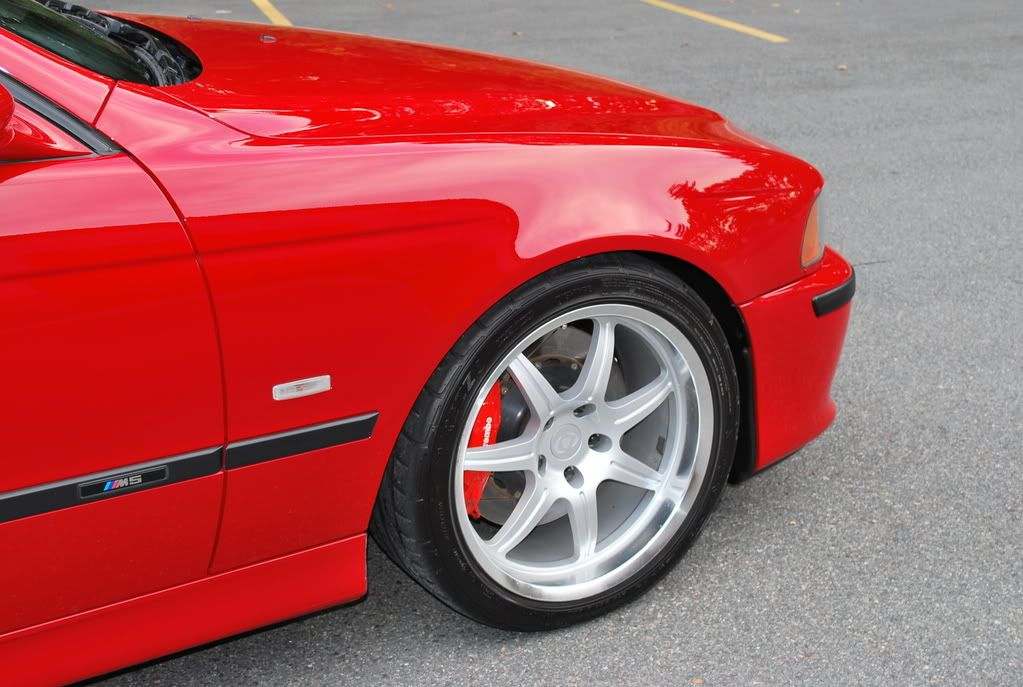
The exhaust tips were cleaned with 0000 steel wool and window cleaner, then polished with Wicked Metal Polish. All of the inner parts of the door handles were polished by hand using Meguiars 105, followed by 106fa and all wheel wells & tires were dressed with Super Blue Dressing. The wheels were not in perfect condition, but after polishing them with 106fa by hand and adding a topcoat of Bilt-Hamber Auto Balm, they looked much better.
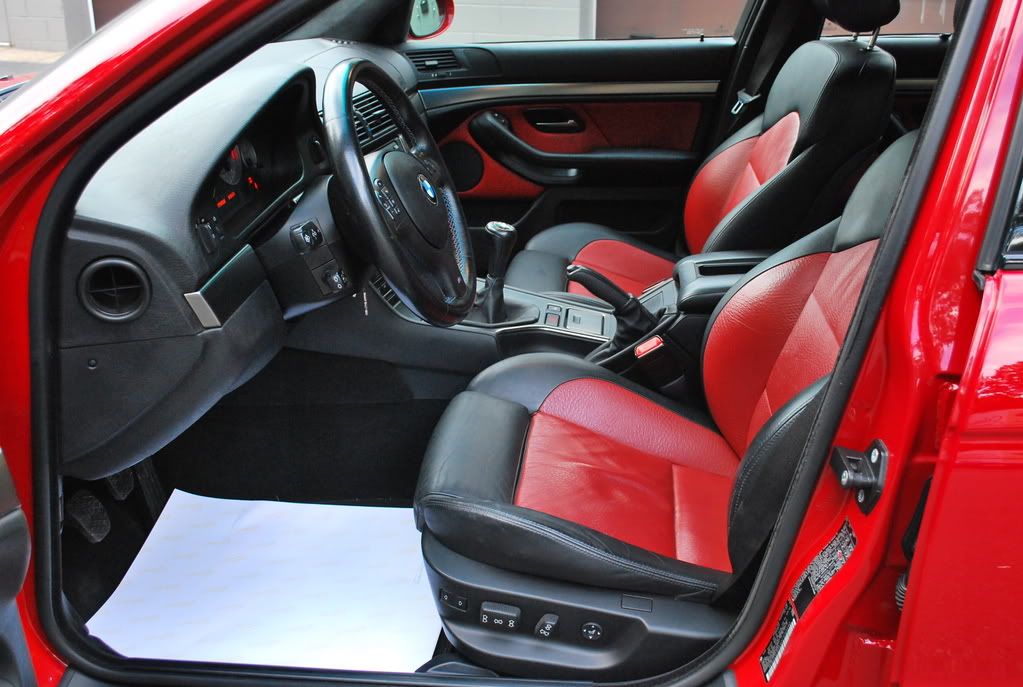
I did a really quick interior detail, which was complimentary since it was in very good shape to begin with.
For added looks, protection and durability, I applied a very thin topcoat of Collinite 915. After removing with a fresh microfiber, I did a quick Zaino Z8 wipedown.
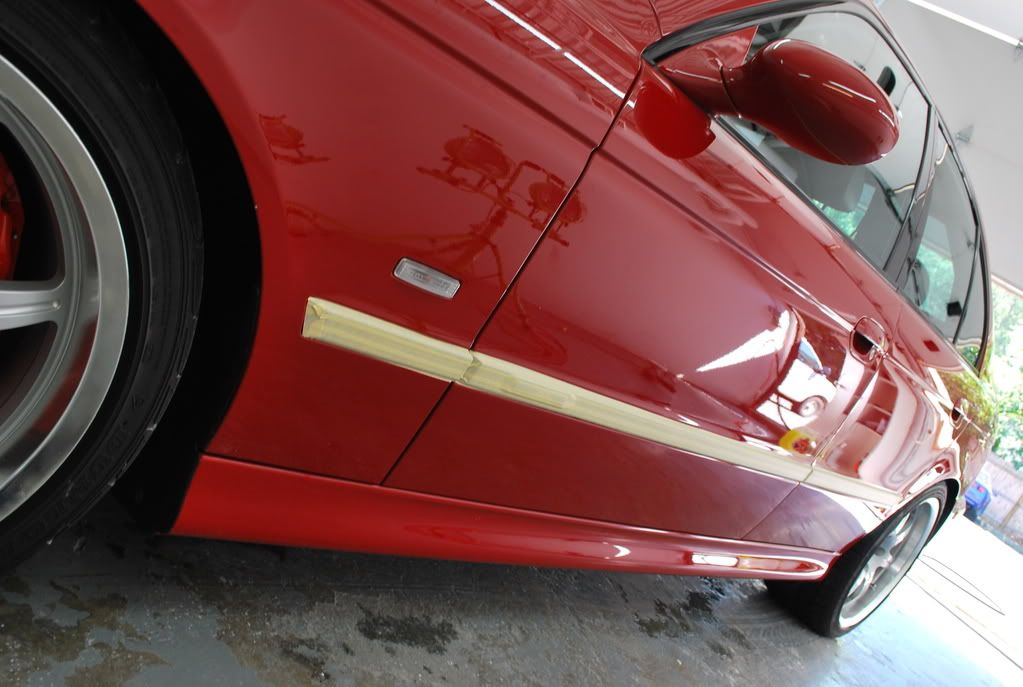
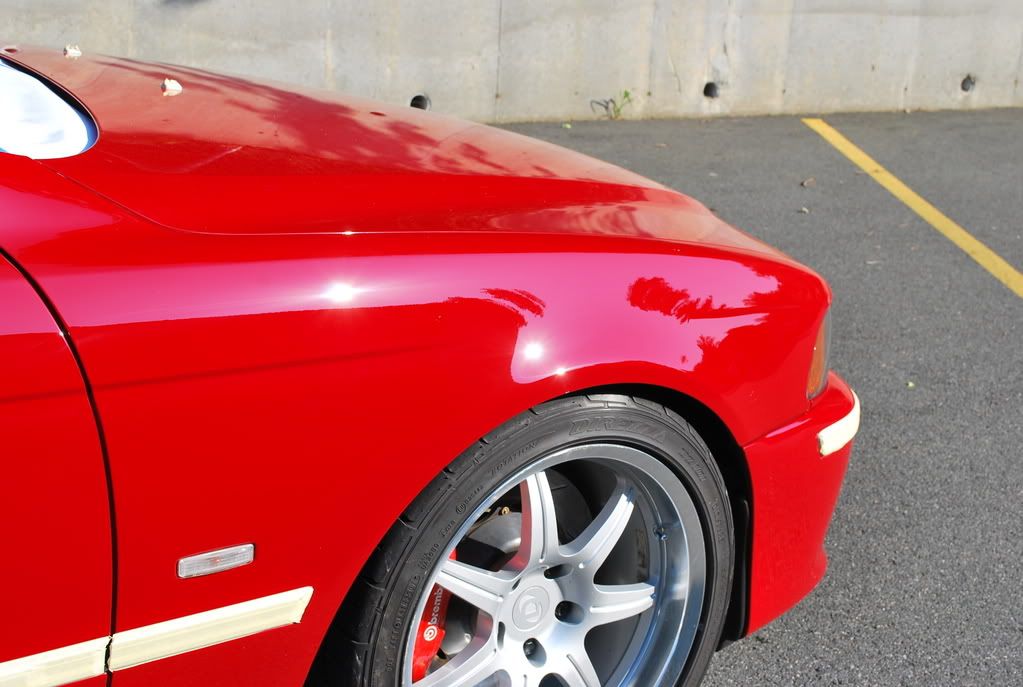
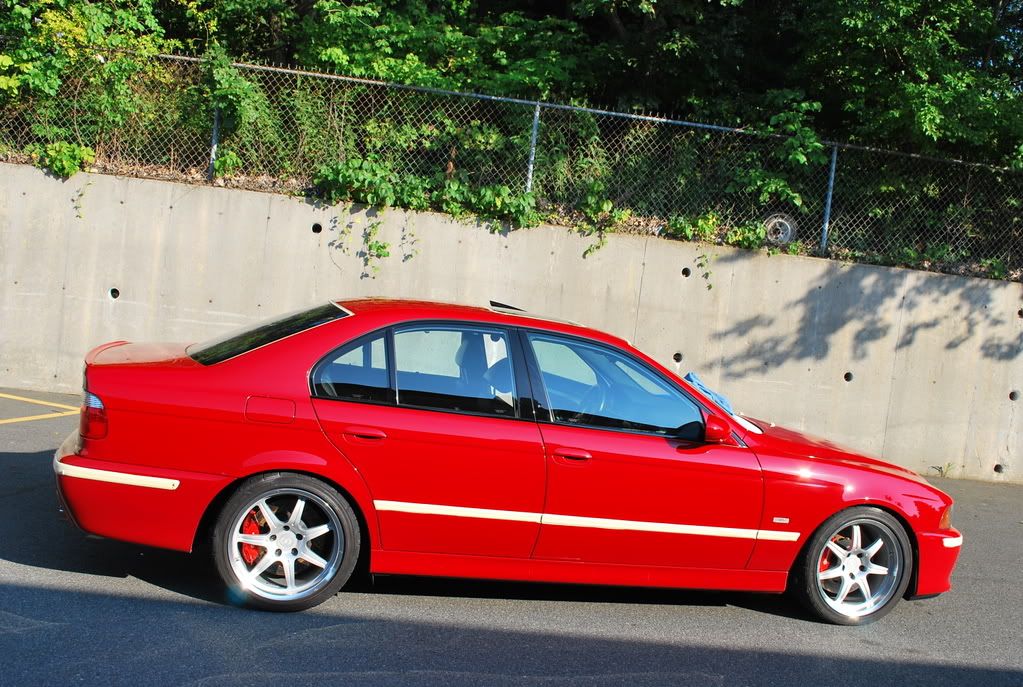
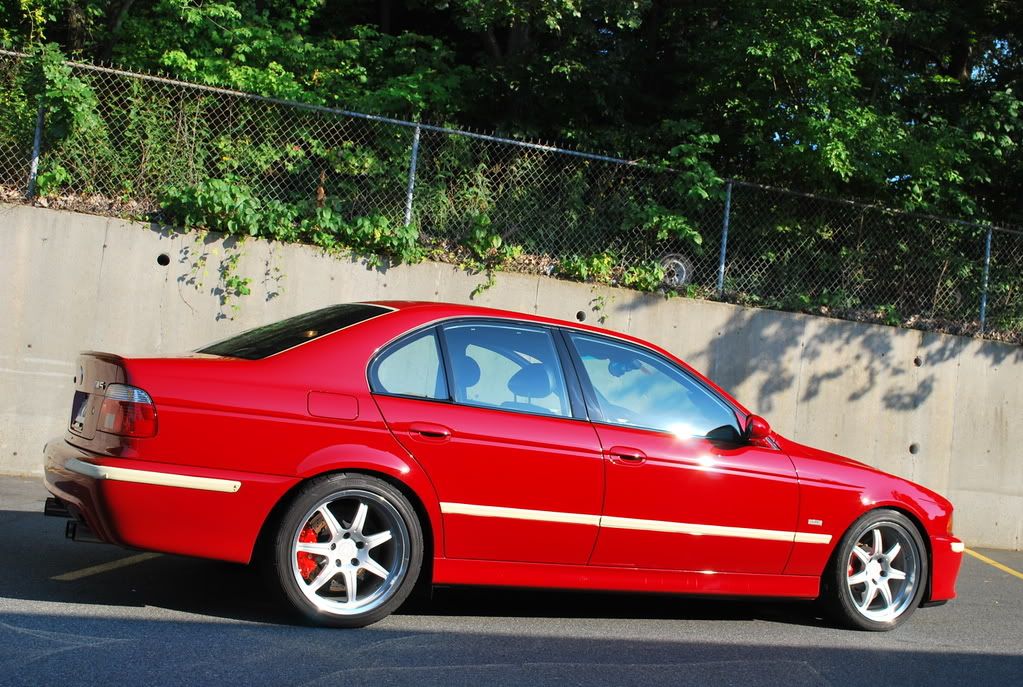
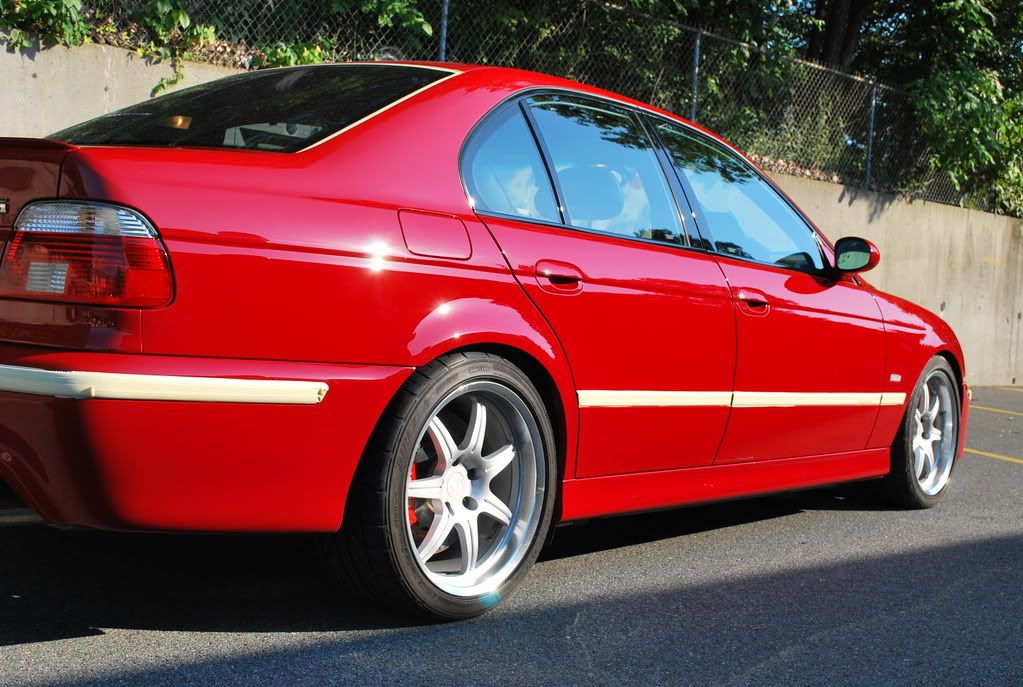
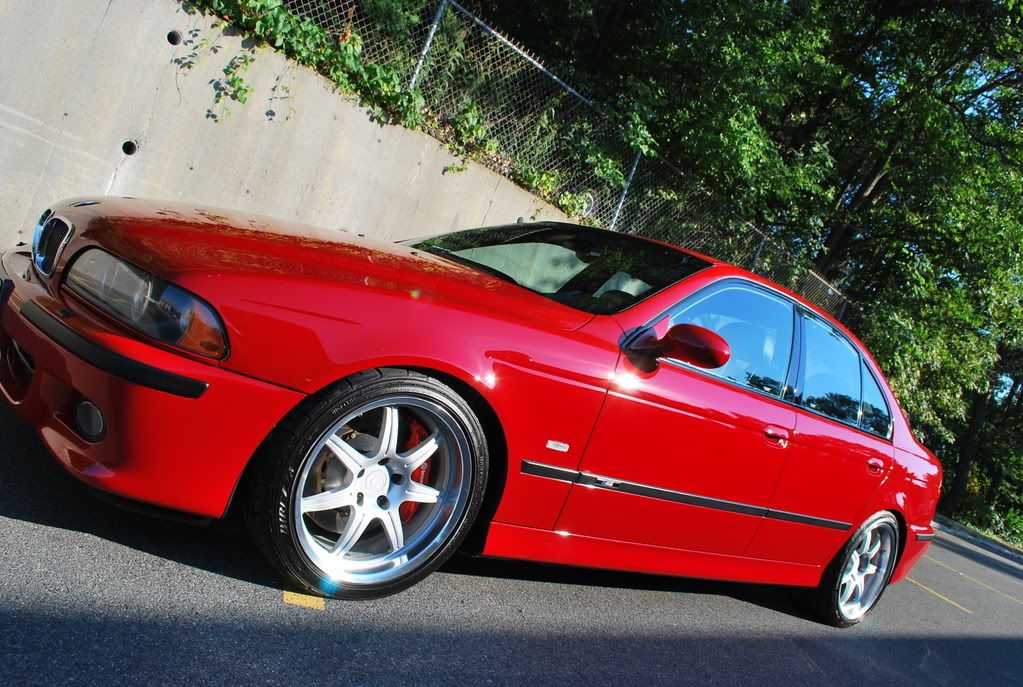
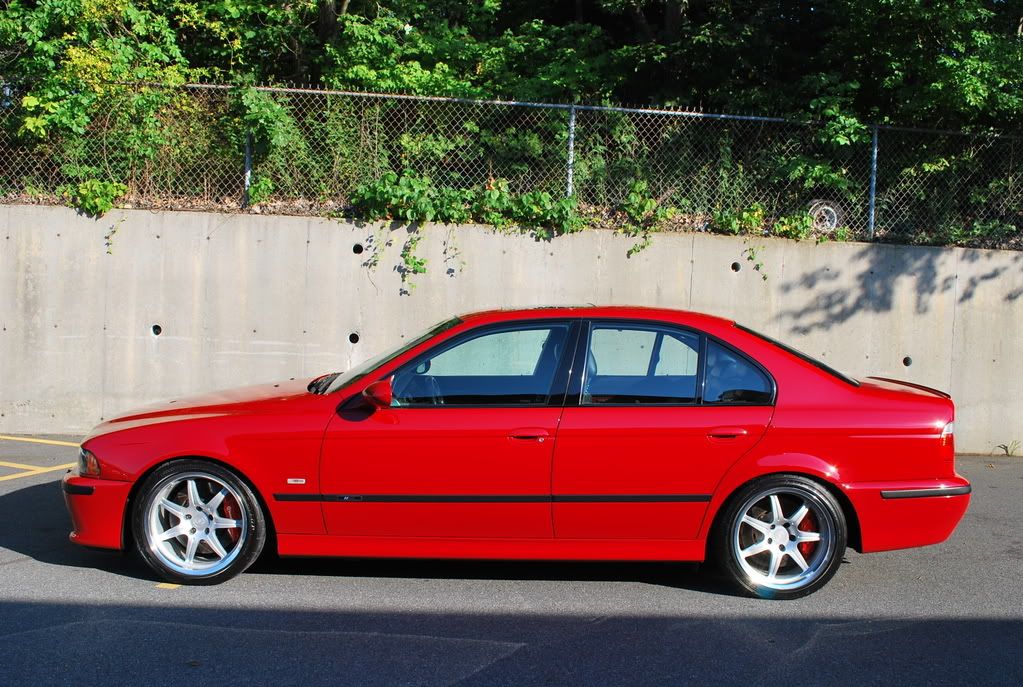
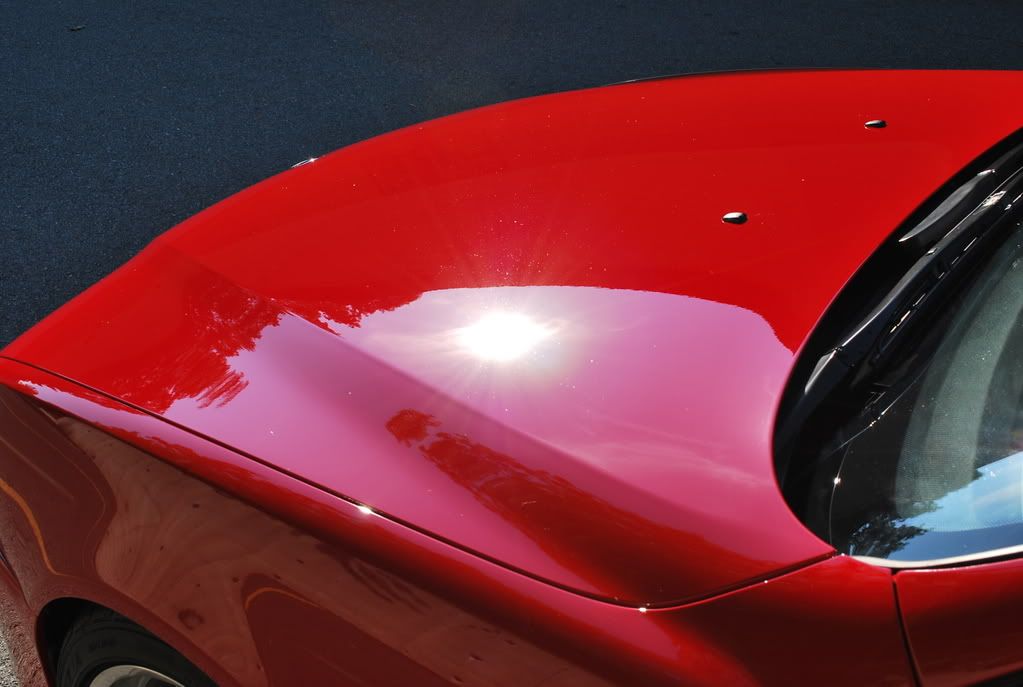
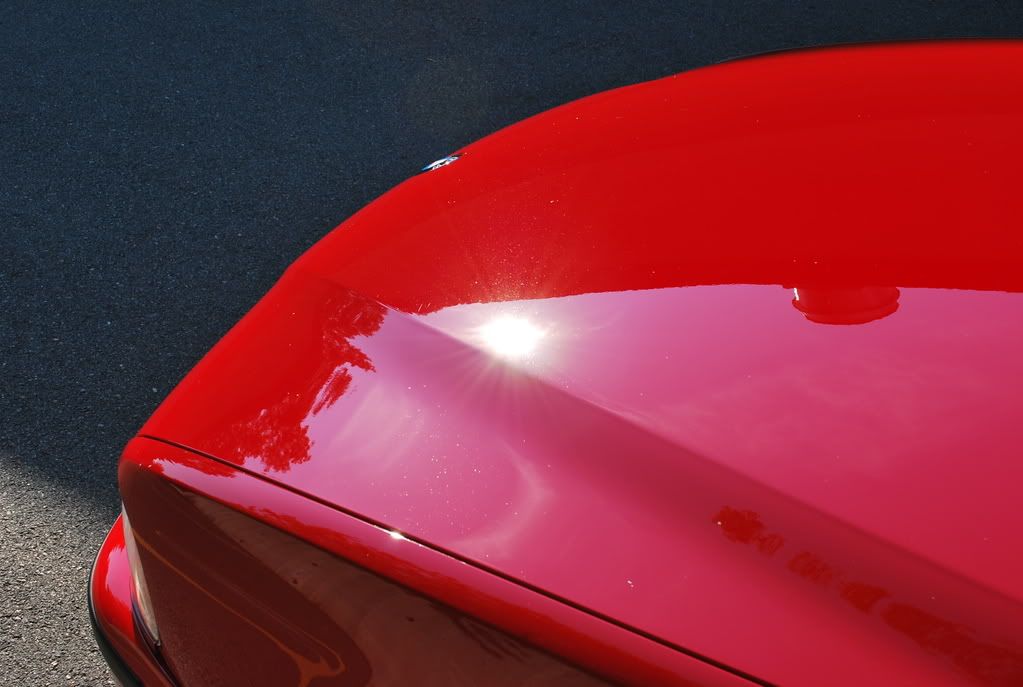
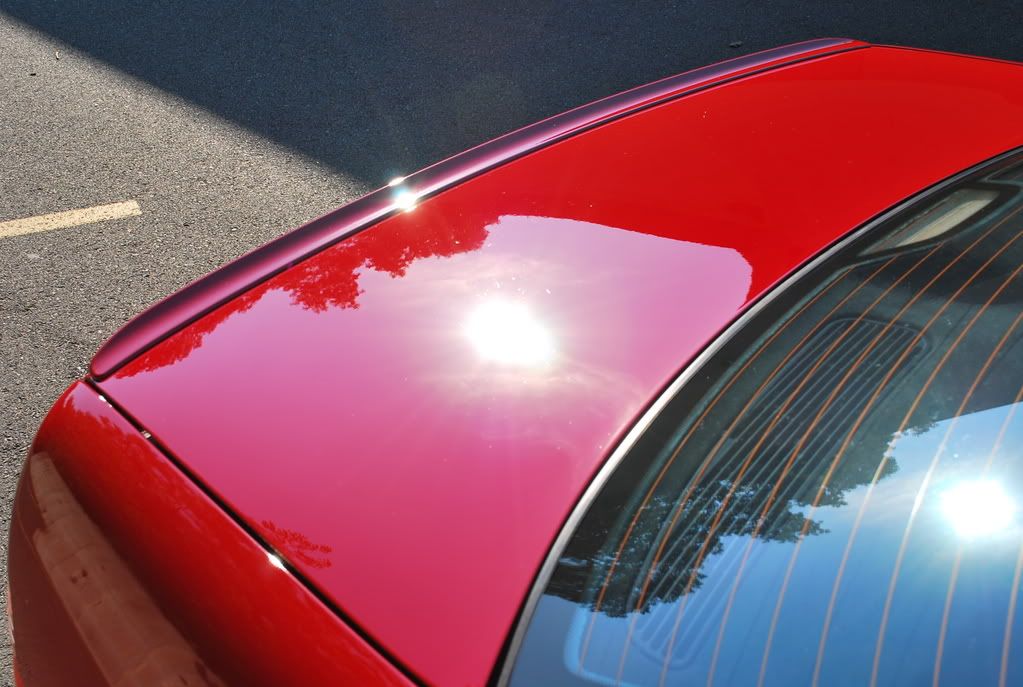
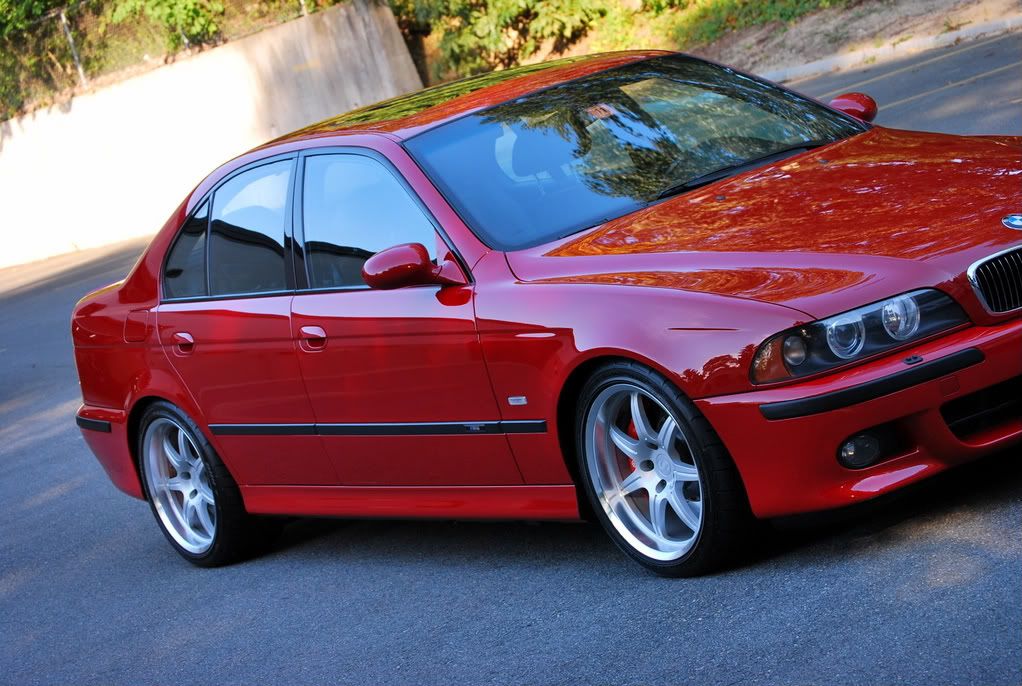
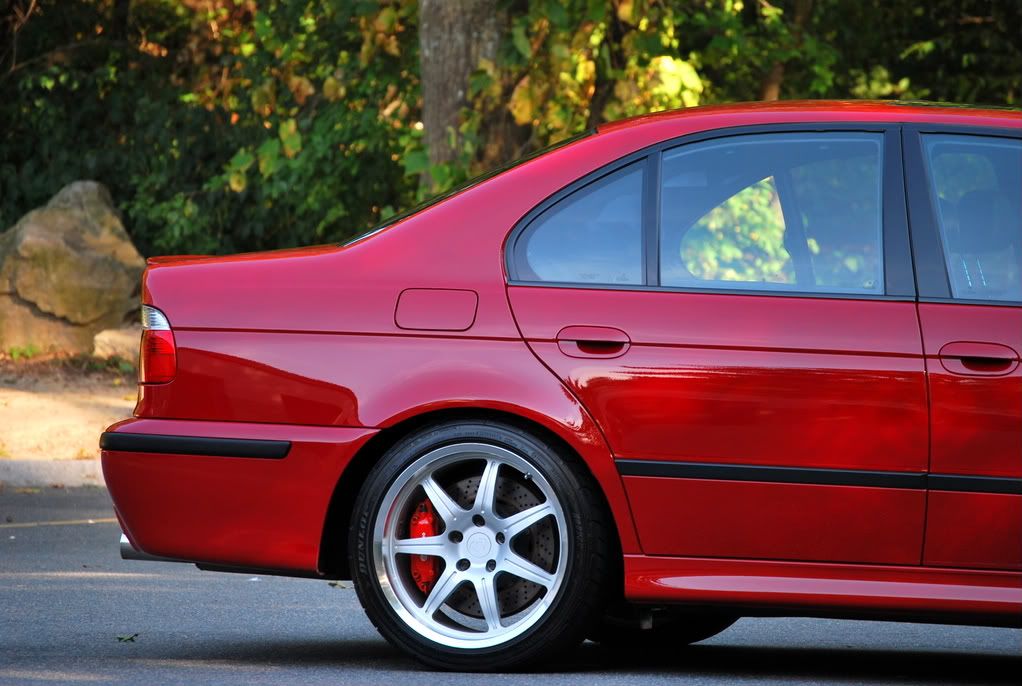
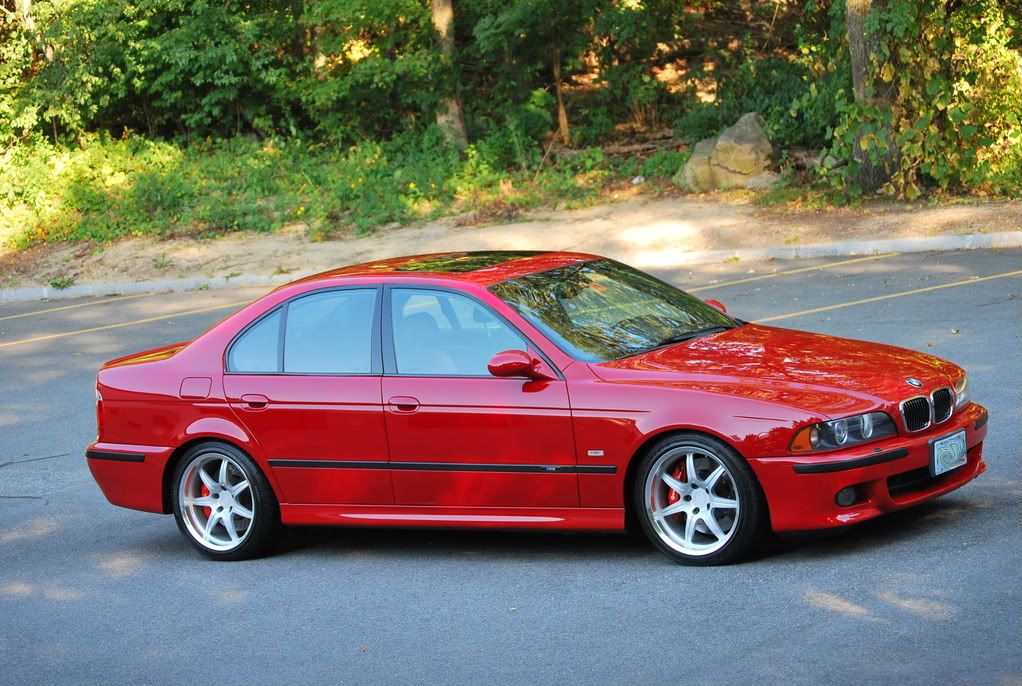
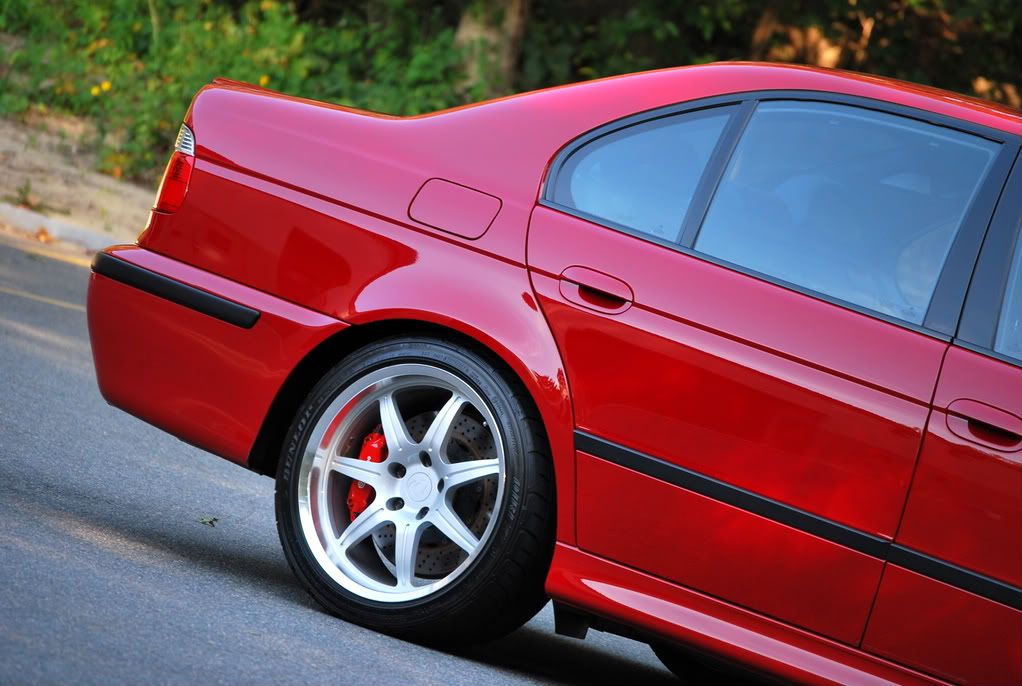
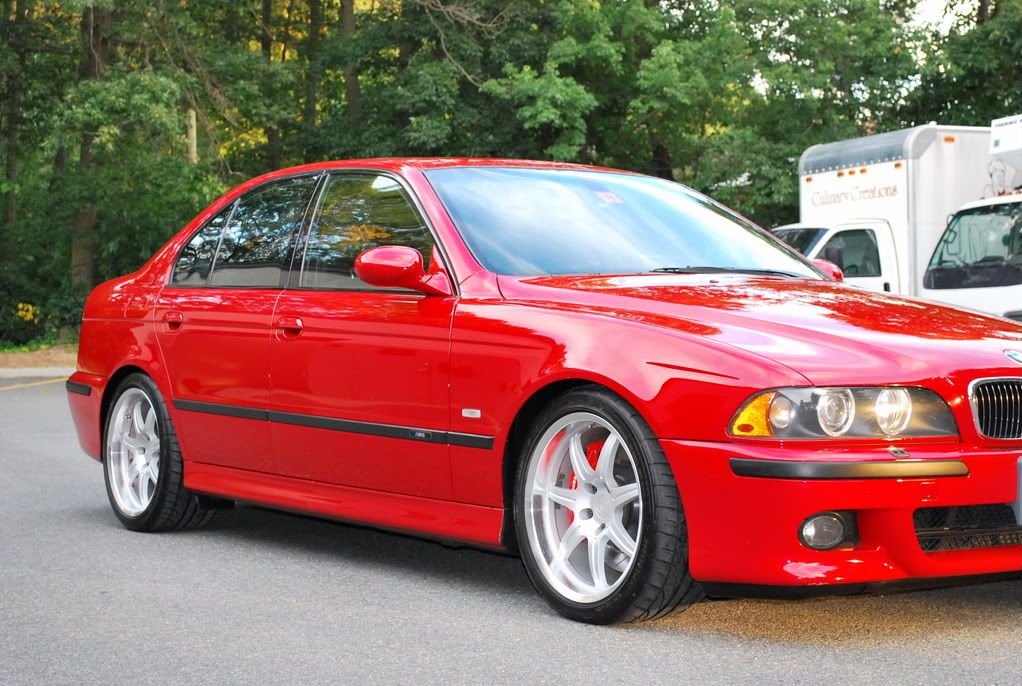
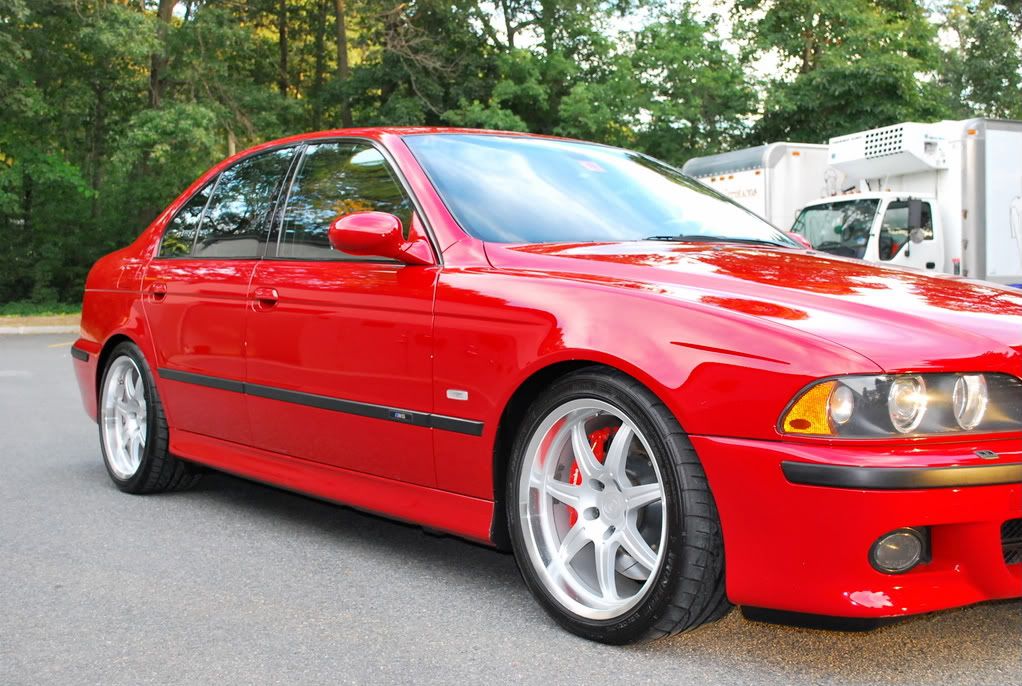
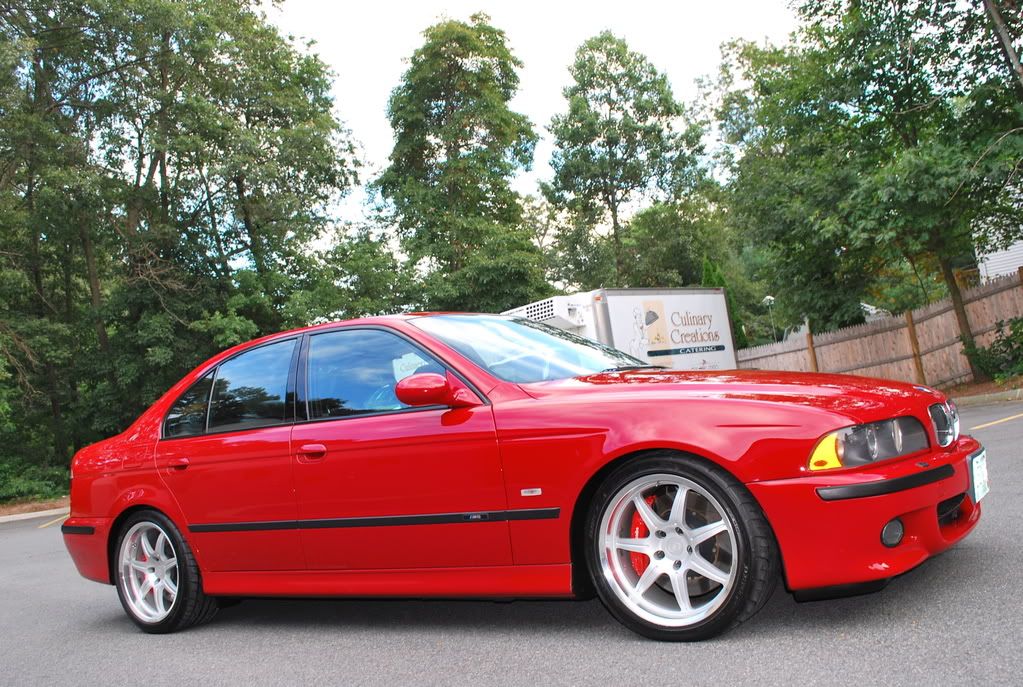
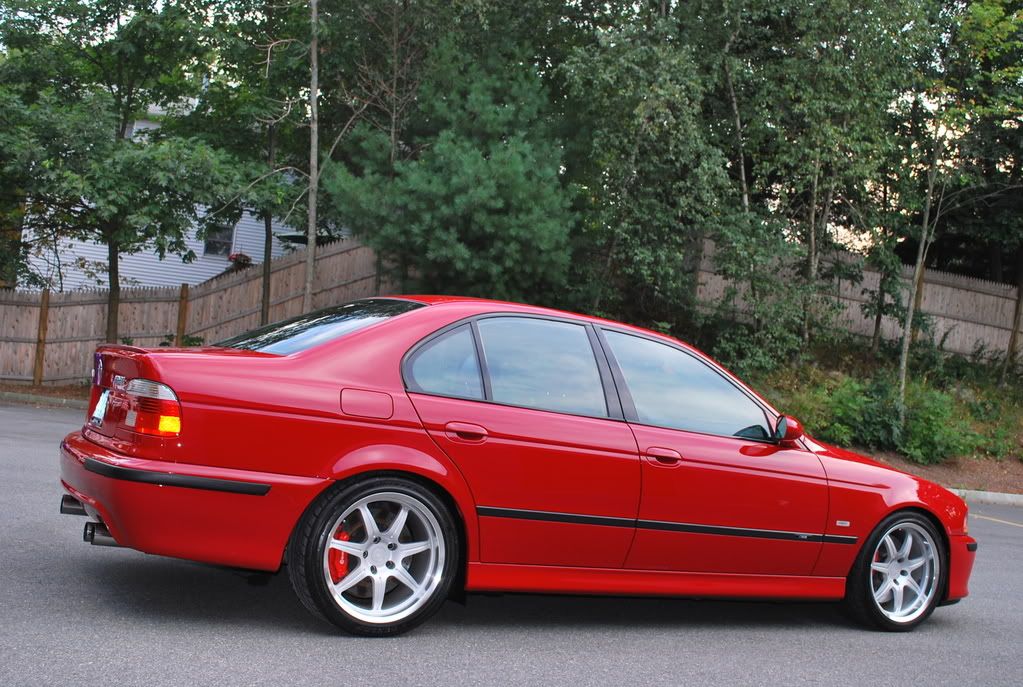
Below is the finished product. As I stated previously, I was only able to achieve about 95% correction on the top surfaces due to the scratches that were too deep to be safely removed. Also, please note that I was not able to find any factory touch-up paint to repair the stone chips, which can be seen in some of the pictures. Enjoy!
The top surfaces weren't 100% perfect, but looked 10 times better than before.
Jokeman- Thanks Bryan! I forgot that you came down the shop when I was working on this. It definitely was pretty hammered, but not as bad as that Phaeton you saw me working on! I've had a stretch of some pretty rough cars lately...
TheMethod- Thank you so much for the kind words! I try to do my best on every vehicle I work on...
Jokeman- Thanks Bryan! I forgot that you came down the shop when I was working on this. It definitely was pretty hammered, but not as bad as that Phaeton you saw mme working on! I've had a stretch of some pretty rough cars lately...


")

